install.packages("distill")Creating the Final Project Repository
Install the distill package
First you need to install the {distill} package with the following code at the Console:
Create your GitHub repository
The next thing you will do is create the GitHub repository that will house your final project. You can do this easily by using the Gov 50 Final Project template. After going to that repository, click on the green “Use this template” button:

When presented with the option of the repository name, for now you can call it gov50-final-project or something similar. You can change the name of repository later once you have a more solid idea for your final project idea. Make sure that Public option is selected.
Setting up GitHub pages
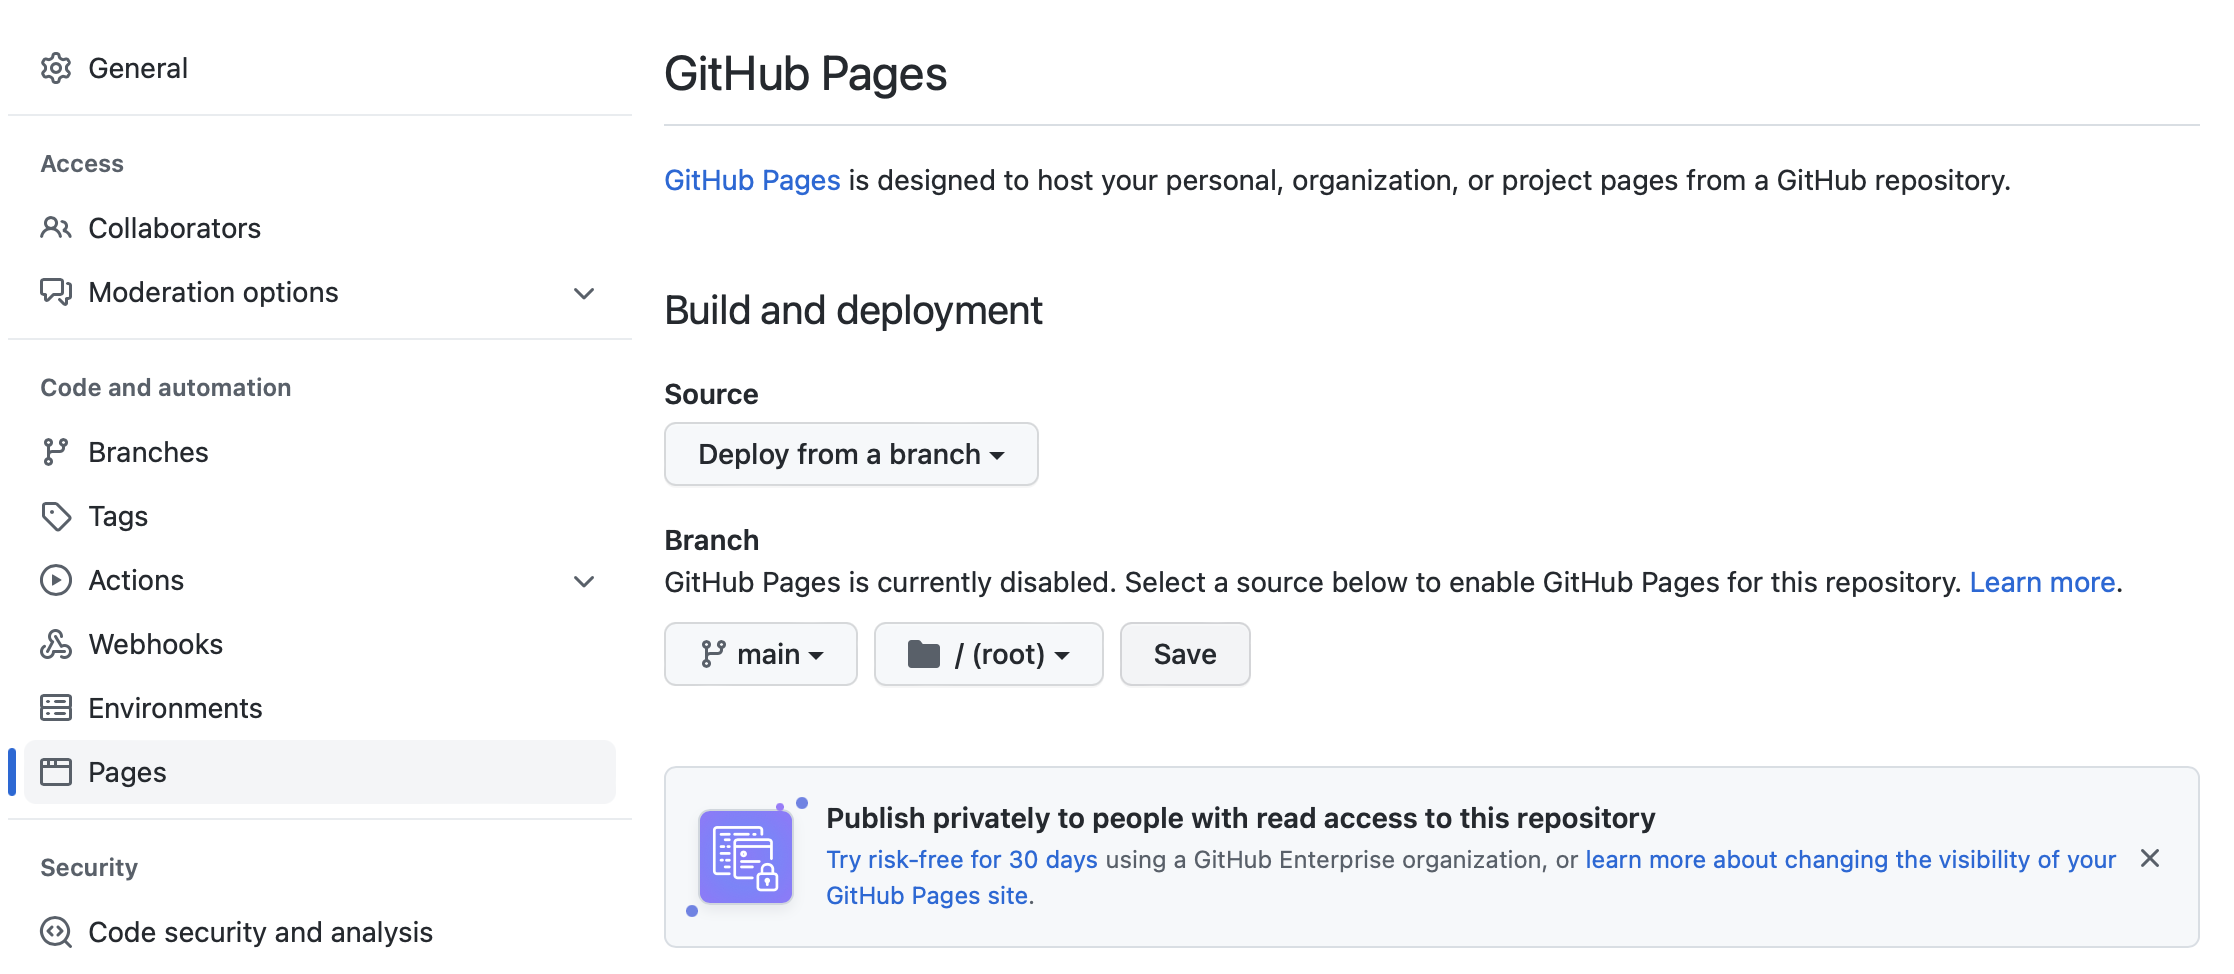
Once you have your repository created, it’s time to have GitHub publish the pages. In the repository click on the settings tab and then select the “Pages” entry in the side bar. There you should be able to select a branch to publish the site from. Select the “main” branch and hit “Save”. The setup should look like this:
Once you do this, GitHub will start to publish your site. After a few minutes, you’ll see a new box on the Pages settings pane that gives you the URL:
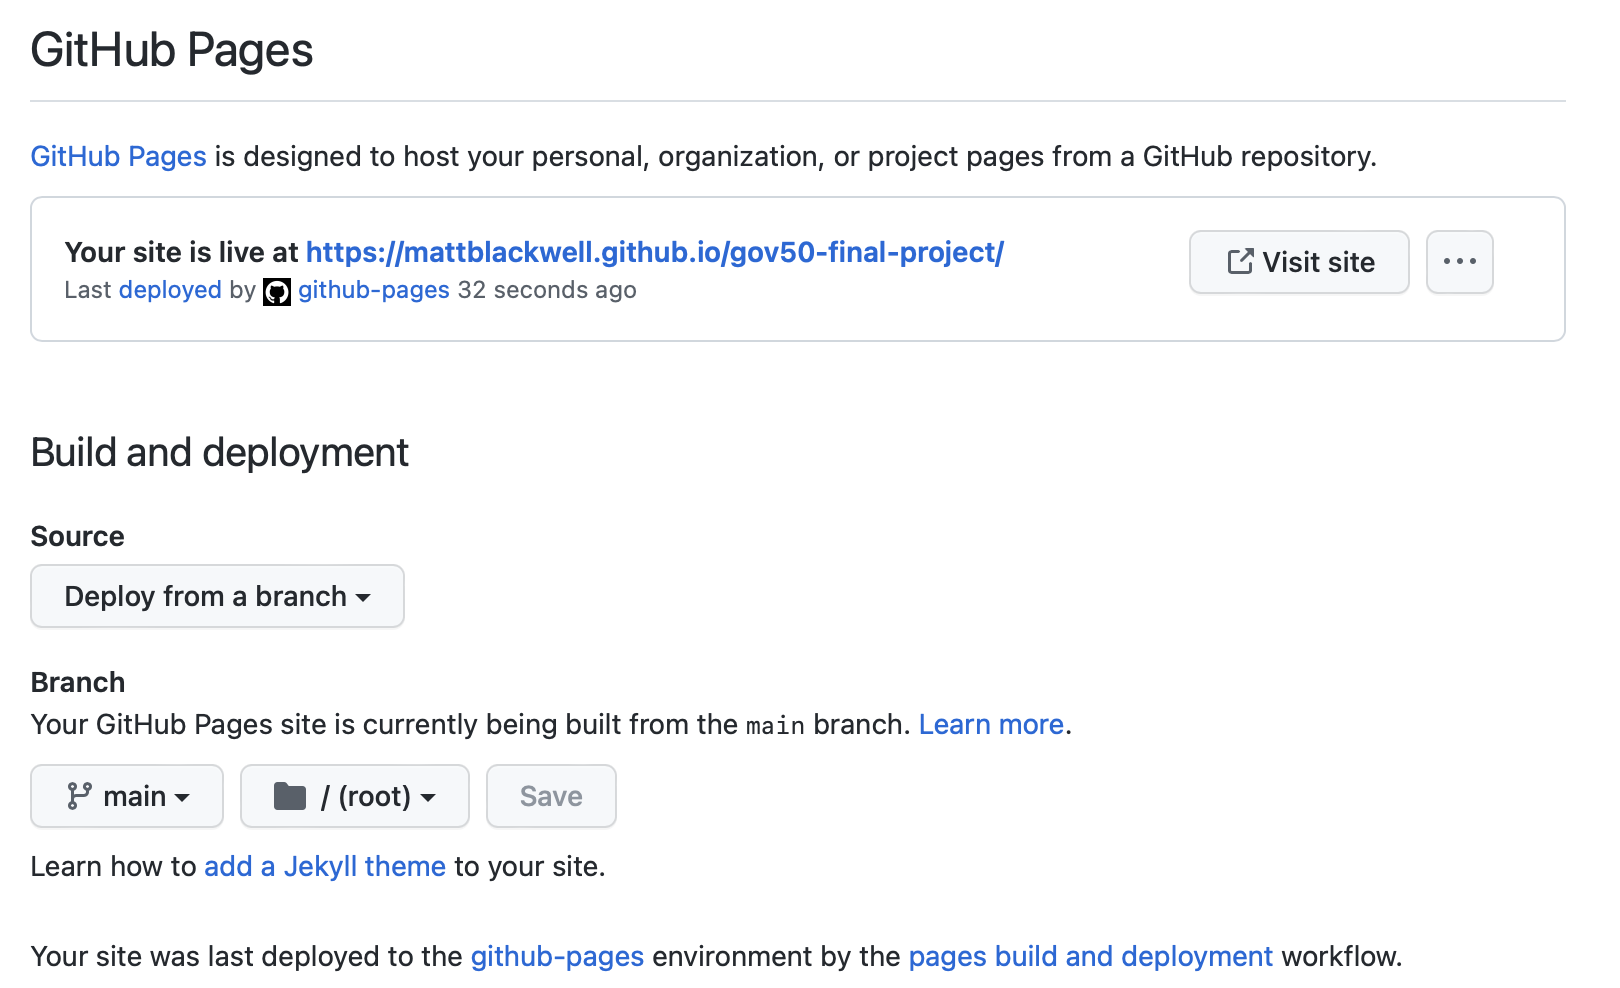
Click on “Visit Site” to see your site in progress. It should be at the URL https://{username}.github.io/{repo-name}.
Working with your repo
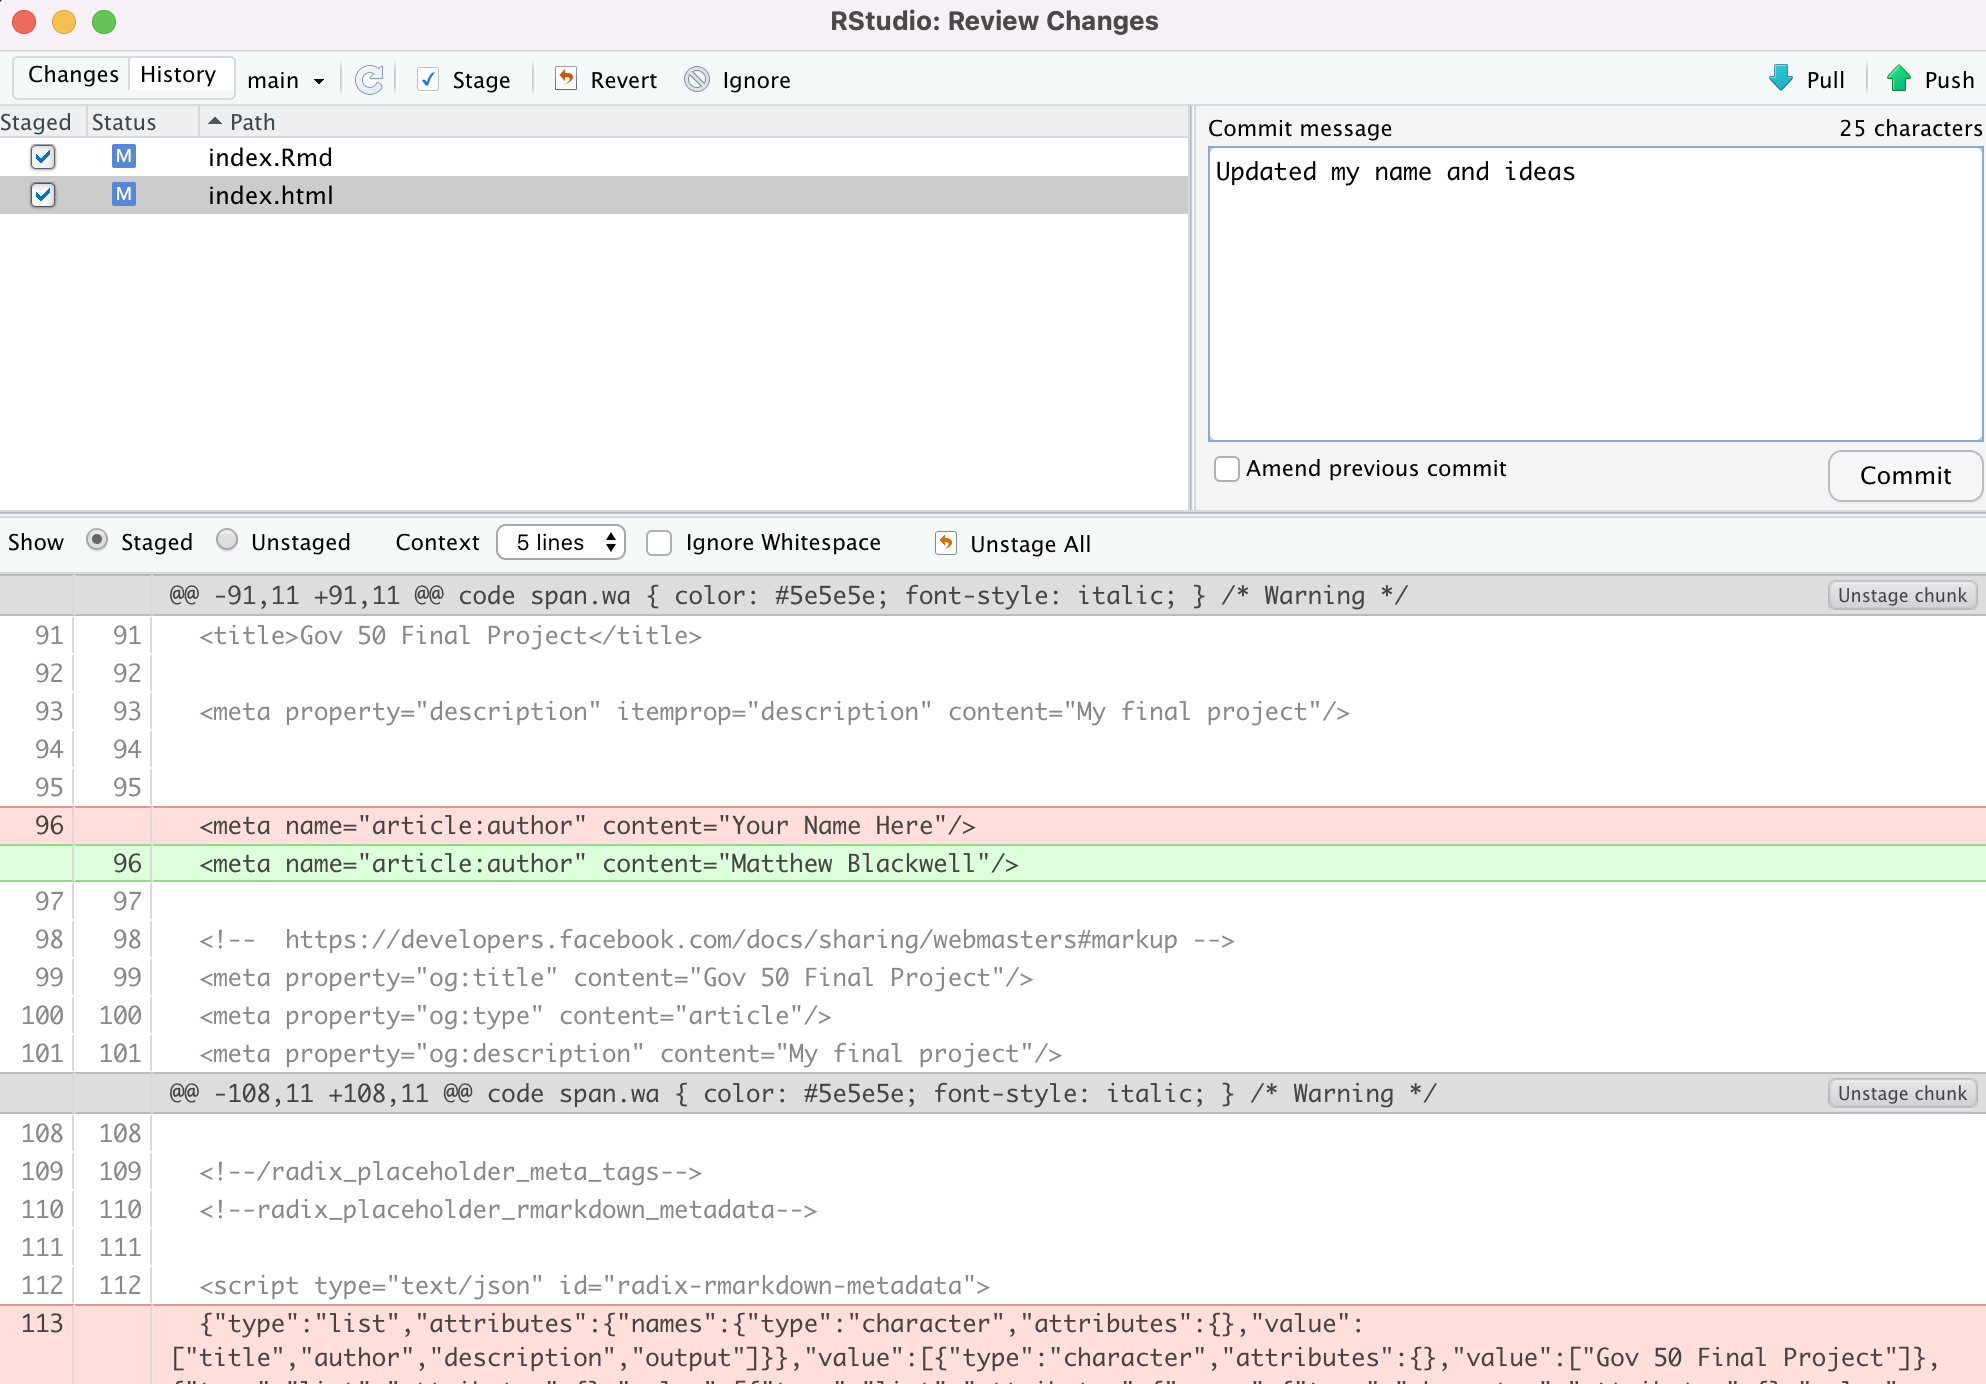
You should now create a project in RStudio based on your final project repository. Open the index.Rmd file and update it with your name and some thoughts about your final project ideas. Hit the “Knit” button to preview your site. If you are happy with your edits, stage the files and commit them in the usual way:
Once committed, push your changes to GitHub. When you go back to your repo, you’ll see a yellow dot, indicating that GitHub is working on publishing your changes:
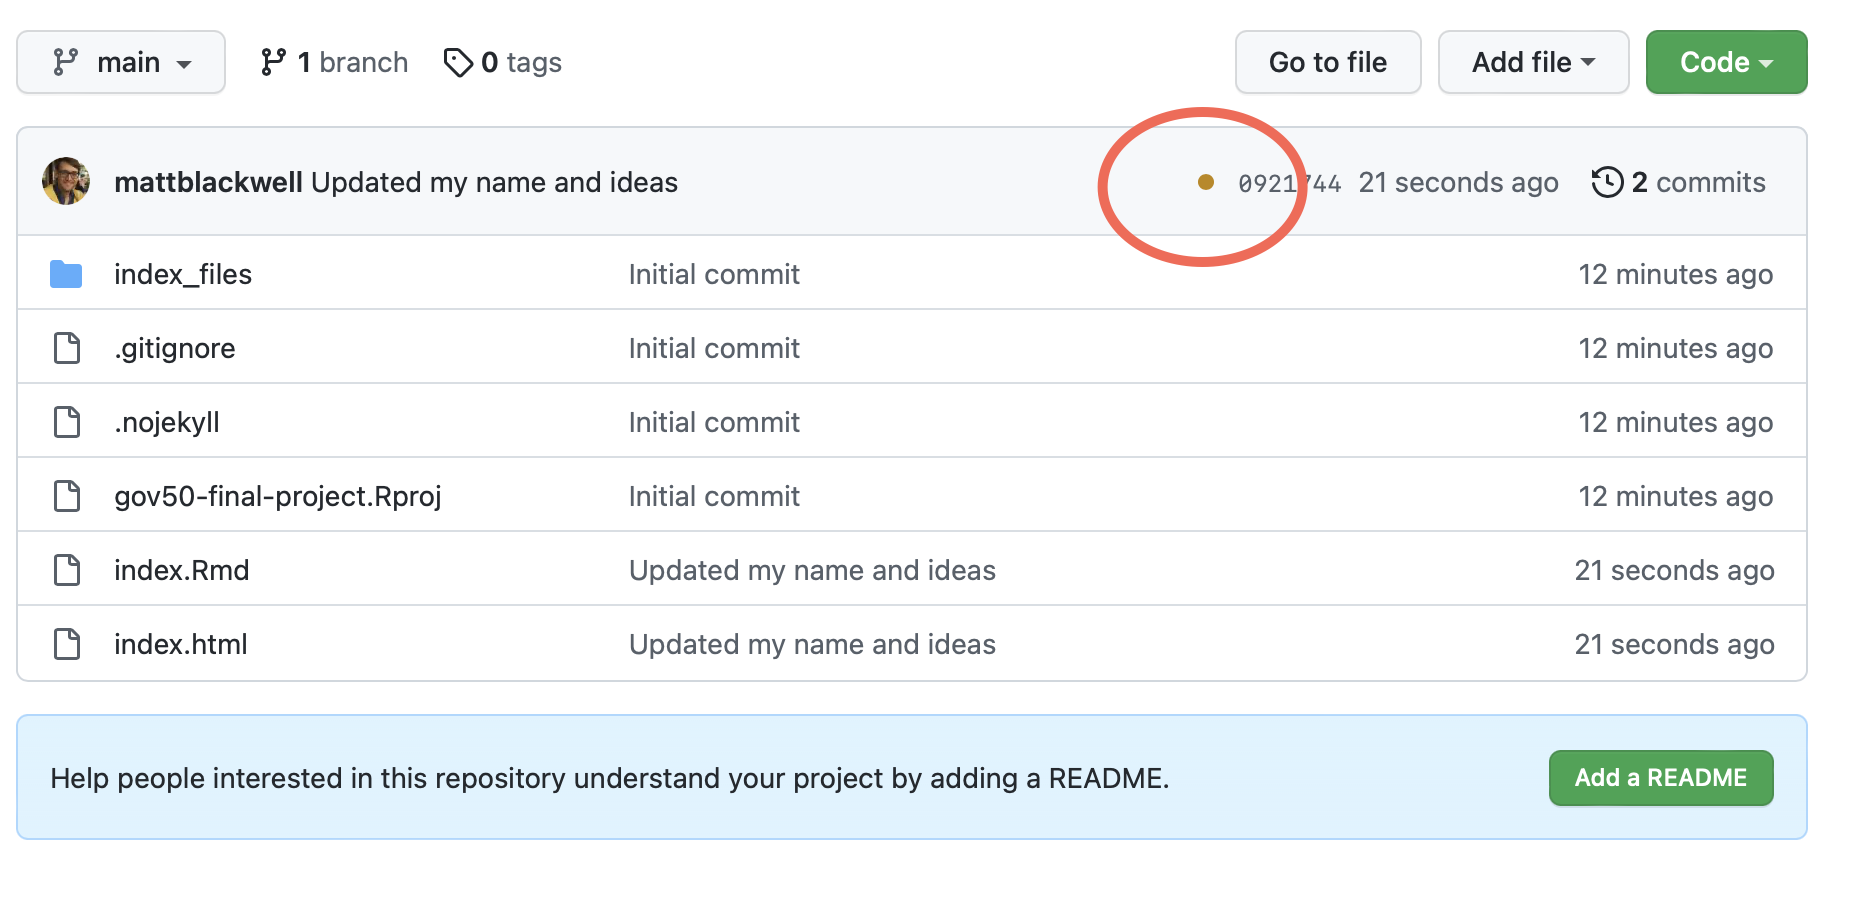
Once it is done publishing, you’ll see a green checkmark:
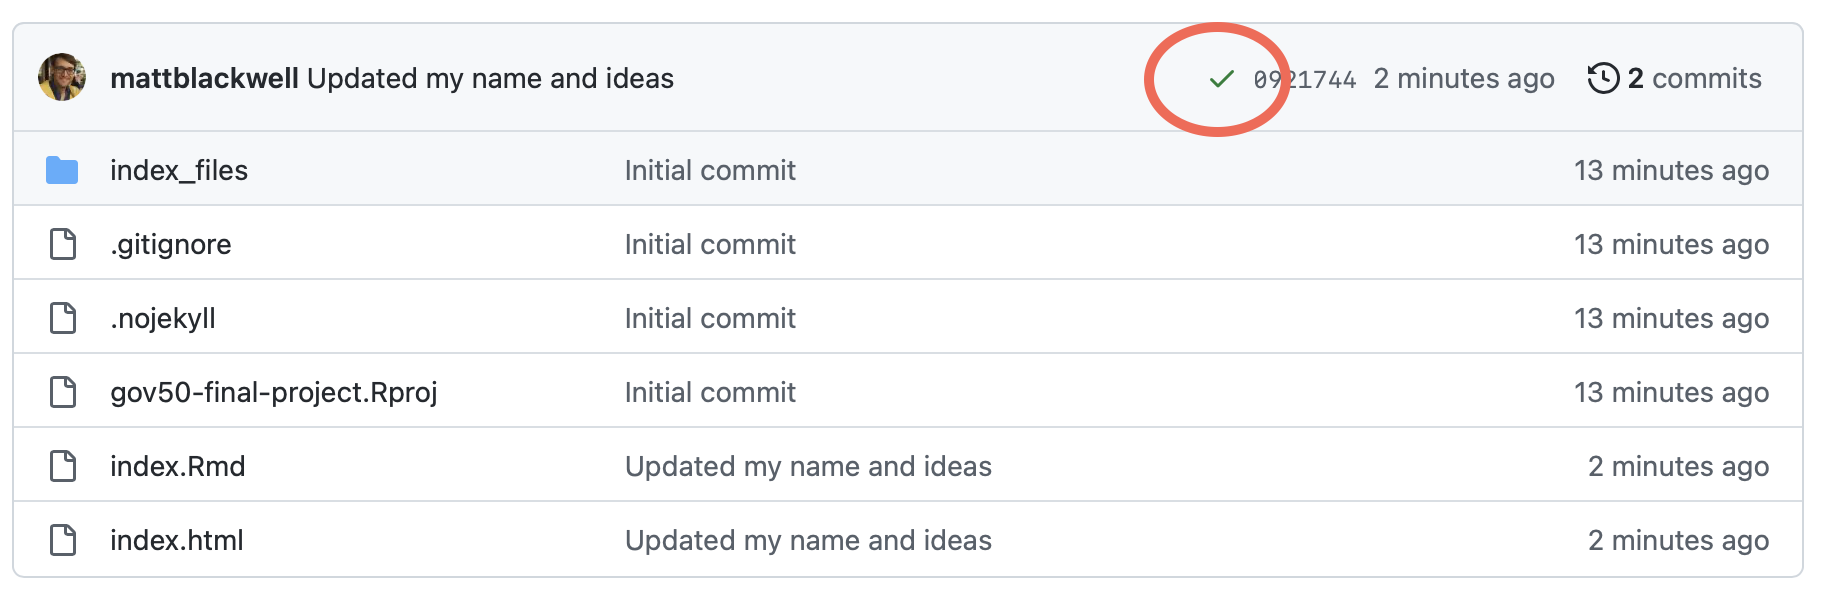
You can now go to your site and see the changes.
Milestone 1
You should change the metadata on your article (your name at the least) and write a few sentences in the main text about what you might be interested in writing about. You will submit a link to the public article (not the github repository) to Canvas (not Gradescope).